The following is a complete operation process manual of the film slitting machine from start-up to slitting parameter setting for reference:
Film Slitting Machine Operation Manual
First, preparation before start-up
1. Security checks
◦ Confirm that the power cord and air circuit of the device are not damaged, and reset the emergency stop button.
◦ Check that there is no debris around the machine, and there are no personnel near the guide rail and tool.
2. Preparation of materials
◦ Check that the roll specifications (width, thickness, material) are consistent with the production order.
◦ Confirm that the core size (e.g. 3 inches/6 inches) is compatible with the slitter.
3. Equipment inspection
◦ Clean the guide rollers and tension rollers to ensure that there is no dust or film shavings.
◦ Check the sharpness of the tool, and replace the blunt knife (it is recommended to check every 500,000 meters).
◦ Lubrication of moving parts such as rails and bearings (use specified grease).

Second, the boot process
1. Power start
◦ Turn on the main power switch, start the control panel, and the system self-test (about 30 seconds).
◦ After the main interface is displayed on the touch screen, confirm that there is no alarm prompt.
2. Parameter initialization
◦ Select Production Task → enter the order number to retrieve the preset parameters (or manually create one).
◦ Set the basic parameters: material type (such as PET/PP/PE), master roll width, target slitting width.
3. Film penetration path setting
◦ Press [Film Penetration Mode] to manually bypass the film guide roller, tension roller, and correction sensor.
◦ Ensure that the film is wrinkle-free and that the edges are aligned with the centerline of the correction sensor (within ± 1mm error).
Third, slitting parameter setting
1. Slitting width setting
◦ Enter the number of slitting strips on the touch screen (e.g., 1000mm for the master roll→ 5 slitting strips for 200mm).
◦ The system automatically calculates the tool position and needs to be manually fine-tuned (it is recommended to reserve a margin of 0.5mm to prevent sticking).
2. Tension control
◦ Unwinding tension: set to 10%~15% of the tensile strength of the material (such as PET commonly used 20~30N).
◦ Winding tension: decreasing step by step (e.g. starting tension 25N, decreasing 1N per layer).
◦ Enable taper tension control (recommended taper ratio 5%~10%).
3. Speed and precision
◦ Initial low-speed (10~20m/min) test operation, stable and gradually increase (MAX reference value: 150m/min).
◦ Set the guiding sensitivity to mid-range (e.g., ± 0.3mm trigger correction).
4. Tool parameters
◦ Select the cutting method (e.g., razor slitting/round slitting).
◦ Calibration of tool pitch accuracy (need to use feeler gauge to confirm tool pitch error ≤0.05mm).
Fourth, trial operation and adjustment
1. No-load test
◦ Without loading the film, the equipment is run to check the action of each component (guiding deviation, tension roller response).
◦ Simulated alarm triggering (e.g., film breakage, overtension) confirms that the safety function is normal.
2. Test cutting with material
◦ Run at low speed for 5~10 meters to check the flatness of the slitting edge (no burrs and sawtooth).
◦ Measurement of slitting width (random sampling of 3 points, tolerance ± within 0.1mm).
3. Dynamic adjustment
◦ If the end face of the winding is not uniform, increase the pressure of the winding roller (0.2~0.5MPa).
◦ In case of snaking, improve the tracking response speed or clean the photoelectric sensor.
5. Formal production and monitoring
1. Run in batches
◦ The speed is increased to the process set value, and the slitting quality is sampled every 30 minutes.
◦ Record key data: actual tension fluctuations, number of mlits, scrap rate.
2. Exception handling
◦ Film breaking: Stop the machine immediately to check whether the unwinding tension is abrupt or the guide roller is stuck.
◦ Loose rewinding: Check whether the air pressure ≥ 0.6MPa or reduce the maximum linear speed.
6. Shutdown and maintenance
1. Normal shutdown
◦ After gradually reducing the speed to 10m/min, click [Stop].
◦ Mark the slitting direction (with arrow stickers) before unwinding.
2. Routine maintenance
◦ Clean up the broken film debris daily and check the air filter drainage.
◦ Weekly calibration of the tension transducer (tested with standard weights).
Attached: Quick Reference Table of Frequently Asked Questions
| phenomenon | Possible causes | solution |
| Slitting edge burrs | Tool wear/speed is too high | Blade change or speed reduction by 20% |
| Rewind the tendons | Excessive tension / improper taper setting | The initial tension is reduced by 5N and the taper ratio is increased |
| Correction failure | Sensor contamination/film light transmission | Clean the sensor or replace the opaque film |
Notes:
• No gloves on rotating parts!
• After the parameter is modified, it needs to be confirmed twice before saving.
• Complete operation requires holding the "Slitting Machine Operation Certificate".
(Note: The specific parameters need to be adjusted according to the equipment model and material characteristics, this manual takes the general model as an example)
 What should you do if the film slitting machine wrinkles? A comprehensive analysis from root causes to countermeasures
 Accurate and consistent: Tension control and closed-loop correction full analysis of the high-precision solar film slitting machineFilm Slitting Machine Innovation Rankings: Five Breakthroughs to Watch in 2026
 Film slitting machine technology trends: quieter, more stable, and more durableChoosing these three key points for a solar film slitting machine can save 20% of film material loss annually


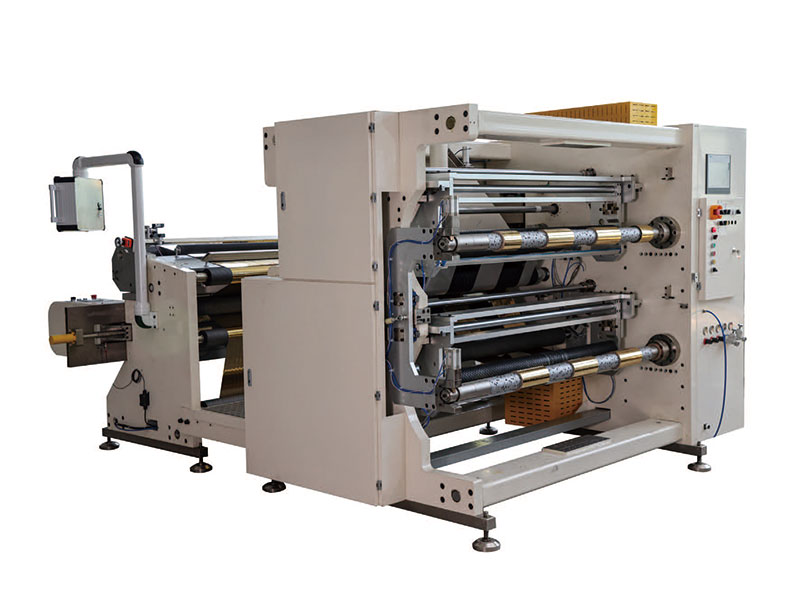 1400mm Hot Stamping Foil Slitting Machine
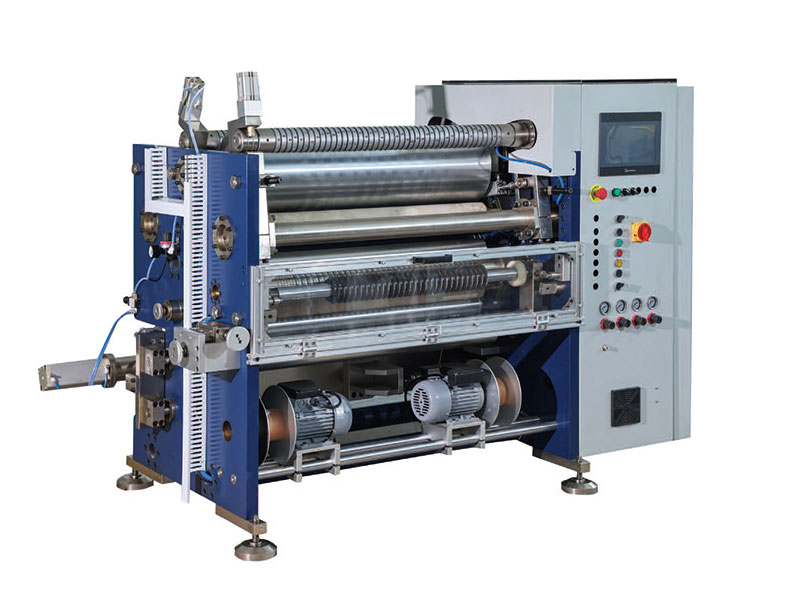 800mm Hot Stamping Foil Slitting Machine
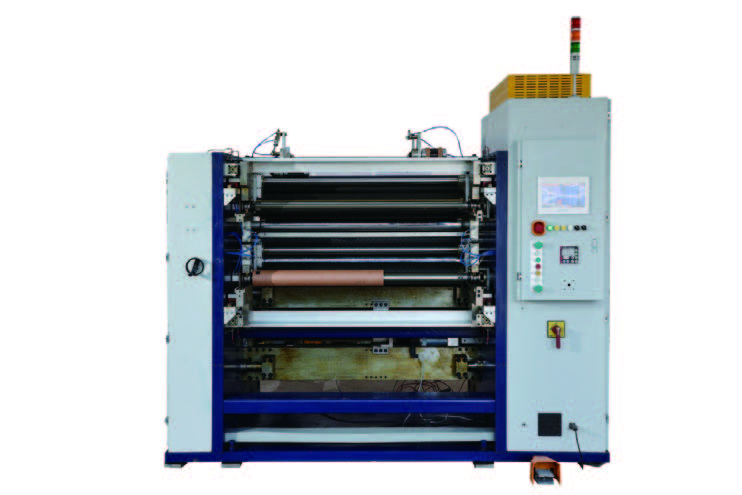 New Energy Ultra-thin Film Slitting Machine For Capacitive Film
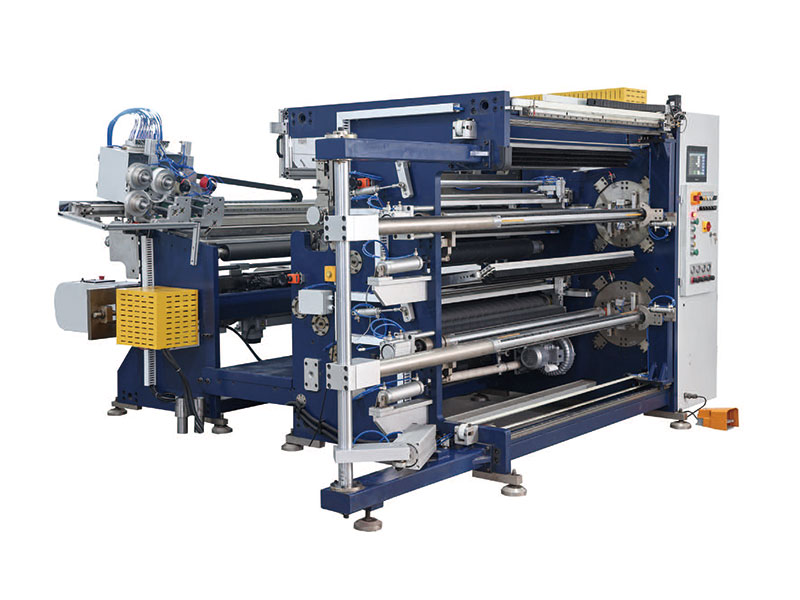 1350mm Hot Stamping Foil Slitting Machine