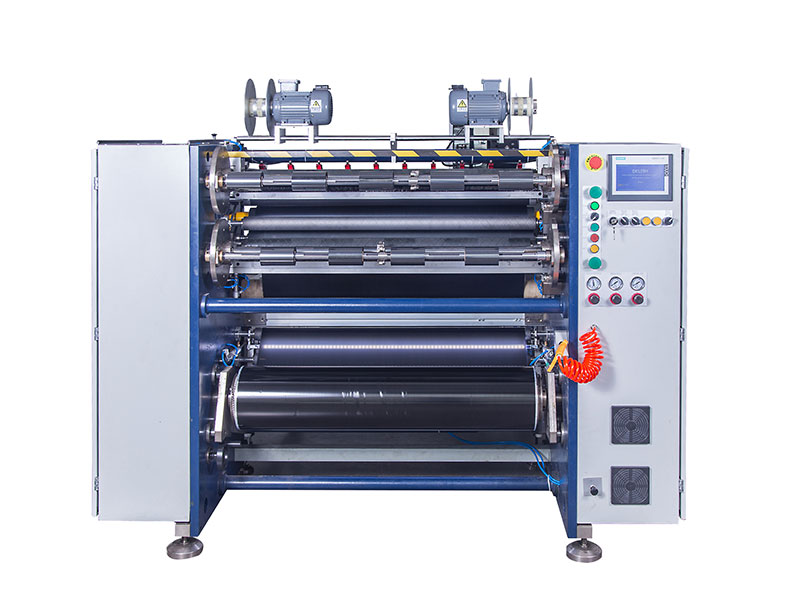
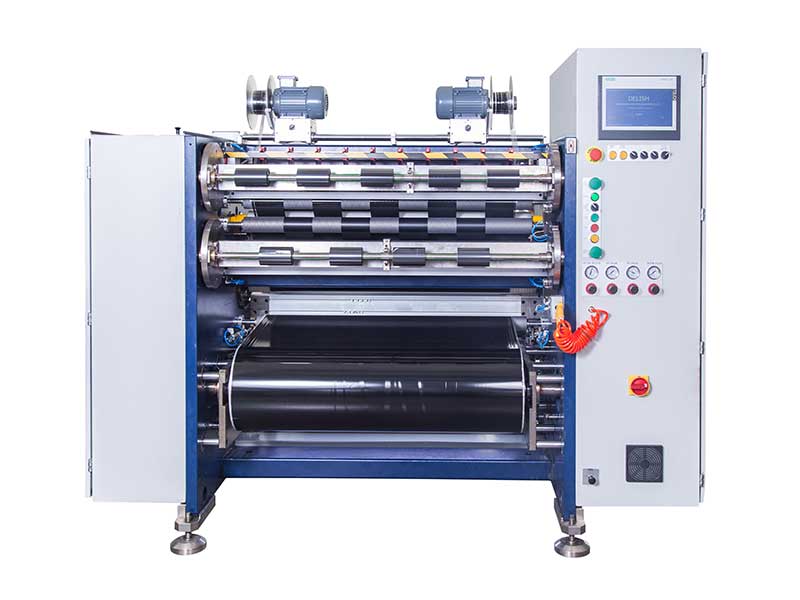
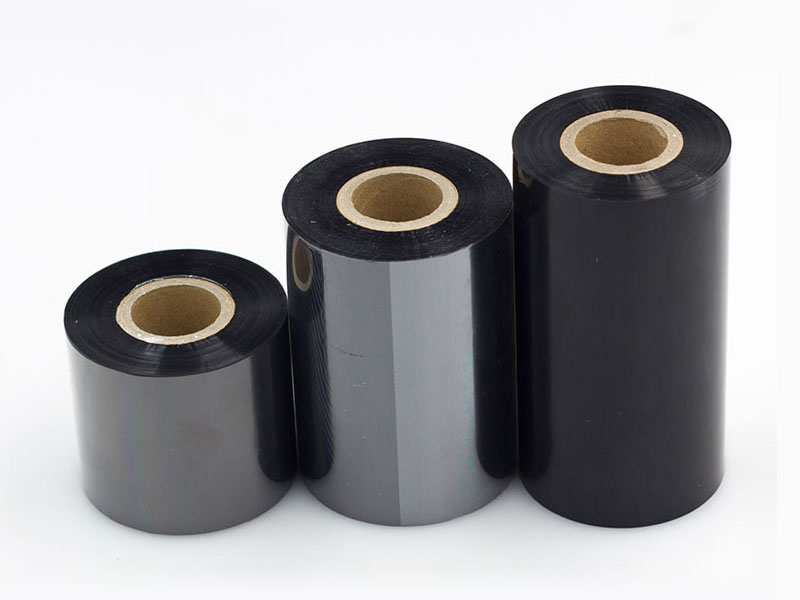
In the production process of ribbon (thermal transfer ribbon), the slitting machine is one of the key equipment, and the stability of its tool shaft directly determines the neatness of the slitting edge, yield and production efficiency. However, after long-term high-speed operation, radial runout (i.e., axis offset) of the tool shaft is a common fault. Excessive runout can lead to slitting face burrs, ribbon misalignment, blade chipping, and even scrapping of the entire roll. This article will systematically analyze the causes of knife shaft runout and provide a complete solution from detection to repair.
1. Diagnosis first: How to accurately judge the runout of the knife shaft?
Don't disassemble based on feeling alone. Quantitative testing first:
1. Dial indicator measurement: The magnetic gauge base is fixed on the body, and the dial indicator probe is perpendicular to the outer circle of the tool shaft (near the bearing position and the tool block mounting position). Manually rotate the tool shaft slowly to observe the swing range of the watch needle. Allowable runout: General precision slitting machine requires ≤ 0.01mm, ordinary equipment ≤ 0.03mm. Anything over 0.05mm needs to be dealt with immediately.
2. Listening and identifying the position: There is a periodic "click" sound or low-frequency vibration during no-load operation, and the abnormal noise intensifies after loading.
3. Cut edge quality: The edges of the cut ribbon are jagged, the burrs on one side are obvious, or the width of the same roll fluctuates by more than 0.3mm.
2. Root cause analysis: four typical reasons
1. Bearing wear or failure (more than 60%)
The precision bearings at both ends of the cutter shaft are under long-term heavy load, poor lubrication or enter the carbon dust, resulting in raceway pitting and cage deformation. The performance is that the beating increases with the increase of rotational speed, and is accompanied by heat.
2. The knife shaft is bent and deformed
Plastic bending of the shaft body due to accidental impact (such as falling during tool change), long-term belt tightness or material fatigue. Features: When the dial indicator measures, the pointer will deflect in one direction and then bounce back.
3. Damage to the tool holder or mounting surface
The inner hole of the tool holder is worn, the lock nut is loose, or the end face of the tool shaft is bumped. Note: Sometimes the shaft itself is not bent, but there are iron filings on the mounting cone of the tool seat, causing the blade to be tilted - this is a "false runout".
4. The bearing housing bore is worn or uncentered
The coaxiality of the bearing housing holes on both sides of the frame is excessive, or the seat hole becomes larger due to vibration wear. Detection method: Remove the bearing, and measure the roundness of the seat hole and the coaxiality of the opposite side with an inner micrometer.
3. Hierarchical repair plan (from simple to thorough)
Option 1: Dismantle-free maintenance grade (for early slight runout ≤0.02mm)
• Steps:
1. Clean the knife shaft and bearing area, and use a non-woven fabric dipped in alcohol to wipe off the toner agglomeation.
2. Check and retighten the bearing lock nut (using a torque wrench, according to the torque value in the equipment manual).
3. Change grease: It is recommended to use lithium-based extreme pressure grease (such as Shell Gadus S2 V220) with low dust and high temperature resistance.
4. Retest the runout after the test - if the improvement is not obvious, move on to the next step.
Option 2: Bearing replacement stage (common repair, can be restored to 0.008-0.015mm)
• Tool preparation: bearing puller, induction heater (or oil bath pan), Allen wrench, copper rod.
• Key Operations:
1. Remove the blade and tool holder and mark the original orientation of each part.
2. Remove the old bearing evenly with a puller – it is forbidden to tap the outer ring to avoid damaging the journal.
3. Check the journal fit size: it should usually be 0~0.005mm larger than the inner diameter of the bearing (interference fit). If the journal is worn, it needs to be repaired by brushing or spraying (see Scheme 3).
4. Install the new bearing: heat the bearing in 120°C oil for 10 minutes, push it into the journal while it is hot, and lock the nut after cooling.
5. After assembly, manual rotation should be smooth and free of jamming.
Option 3: Journal repair stage (worn or slightly bent, runout 0.03-0.08mm)
• Method A: Brush Plating (Electrodeposition)
Local grinding or scratching of the journal. The nickel/copper solution is electrodeposited to size with a plating pen in the rotating state of the shaft and then ground to tolerance (special equipment required, outsourcing is recommended).
• Method B: Spray repair
Strengthens surfaces after correcting large areas of wear or bending. The supersonic flame spray is coated with tungsten carbide and then finely ground to its original size. The hardness of the coating can reach more than HRC68, and the wear resistance is superior to the original shaft.
• Method C: Straightening (slender shaft only and bending amount ≤ 0.1mm/m)
Use a V-shaped iron frame to lift the axle, find out the high point with a dial indicator, use a press to reverse bend and hold the pressure, and measure repeatedly until qualified. Note: The ribbon slitting machine shaft is mostly tempered and tempered steel, and after calibration, it should be tempered at low temperature to destress (160°C×2h), otherwise it will rebound.
Option 4: Frame bearing housing hole repair (severely aging equipment)
• Boring setting: Boring the original hole is 1-2mm larger, pressed into the pre-machined steel bushing (interference fit), and then bored to the required size of the bearing outer diameter, and ensure that the coaxiality of the hole on both sides ≤ 0.01mm.
• On-site reaming: For situations where the frame cannot be disassembled, concentric reamers or housing hole repair adhesive (such as Loctite 660) can be used, but it is only suitable for low-speed and light-load occasions, and high-speed slitting machines are not recommended.

4. Preventive maintenance: 6 golden rules to extend the life of the tool shaft
1. Air knife carbon cleaning: Add a compressed air purge tube near the knife shaft to blow off suspended toner at regular intervals - toner is the number one killer of bearings.
2. Regular centering: Every 500 hours of operation, check the parallelism between the cutter shaft and the traction roller with a laser aligner.
3. Reasonable tension: When the belt is driven, press the middle of the belt with your fingers, and the sinking amount should be 1.5 times the thickness of the belt. Too tight bending shaft, too loose and slipping.
4. Tool balance: After changing the blade, static balancing must be done (simple method: the tool holder is horizontally placed on two parallel blades, and it should be stopped randomly after nudging, and it should not be fixed to a certain point).
5. Start-up and pre-heating: Before starting the machine in winter, idle at low speed for 10 minutes to make the bearing temperature uniform before loading.
6. Record ledger: check the runout value, bearing model and replacement date each time, and establish a life curve.
5. When must it be scrapped and replaced?
The repair cost exceeds the replacement if:
• Transverse cracks on the surface of the shaft (fatigue cracks will extend);
• The bending amount exceeds 0.2mm and rebounds after two straightenings;
• Severely twisted keyway or rotten shaft head threads.
At this time, you should contact the original or professional shaft manufacturer to order a new shaft, and the material is recommended to be 38CrMoAl (nitriding treatment) or SKD11 (quenching tempering), hardness HRC55-60.
Epilogue
The knife shaft beating is not a terminal disease, but it requires the idea of "diagnosis-grading-precise repair". From daily purge toner and regular bearing changes to spraying or sleeves when necessary, the vast majority of runout tool shafts can be restored to near-factory accuracy. The key is: don't run sick – small jumps can worsen into bearing chipping or journal strain within 48 hours. Make it a habit to quickly inspect with a dial indicator every week, and your ribbon slitting machine will maintain a sharp "cut" all year round.
Note: When involving large-scale equipment disassembly and precision grinding, it is recommended to operate it by professionals with mechanical maintenance qualifications.
 How to choose a ribbon slitting machine? A comprehensive explanation of speed, precision, and cost
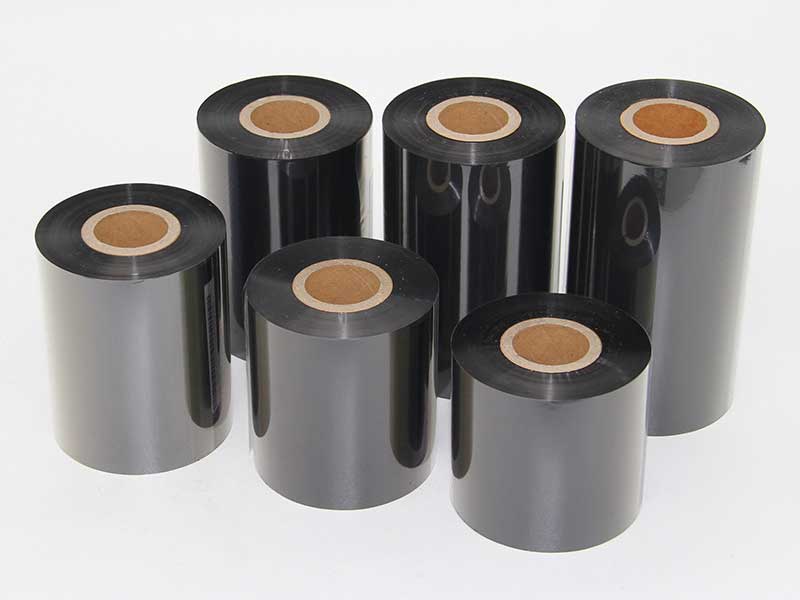 Ribbon slitting machine tension control techniques: From beginner to expert
 How can ribbon slitting machines improve production efficiency by 40%? Analysis of three core parametersRibbon slitting machine material-saving secret: Block every bit of loss at the sourceHow to control the precision of a ribbon slitting machine?


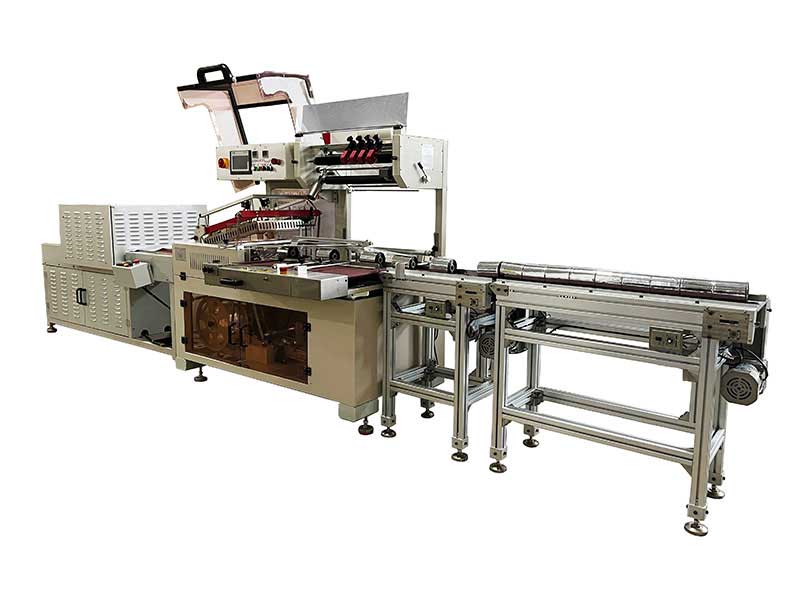 Thermal Transfer Ribbons Packaging Machine
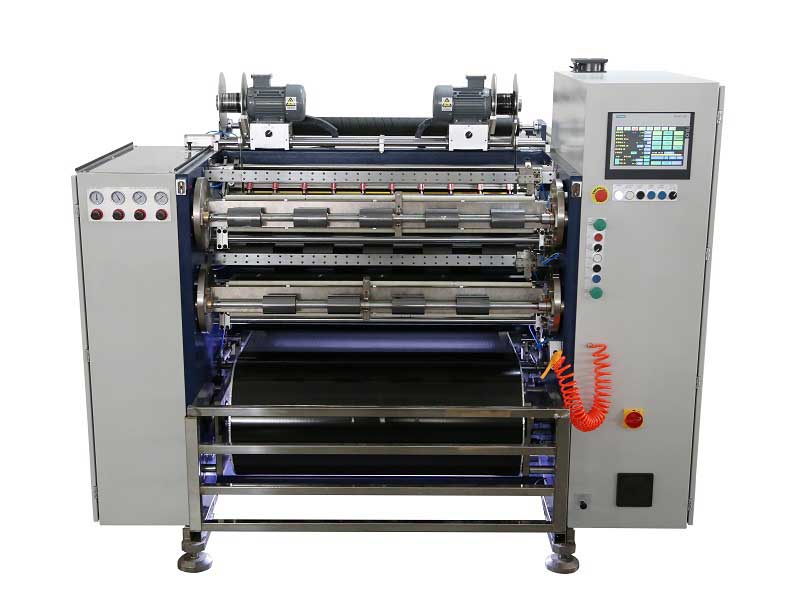 Automatic Thermal Transfer Ribbon Slitting Machine RSDS8 H PLUS
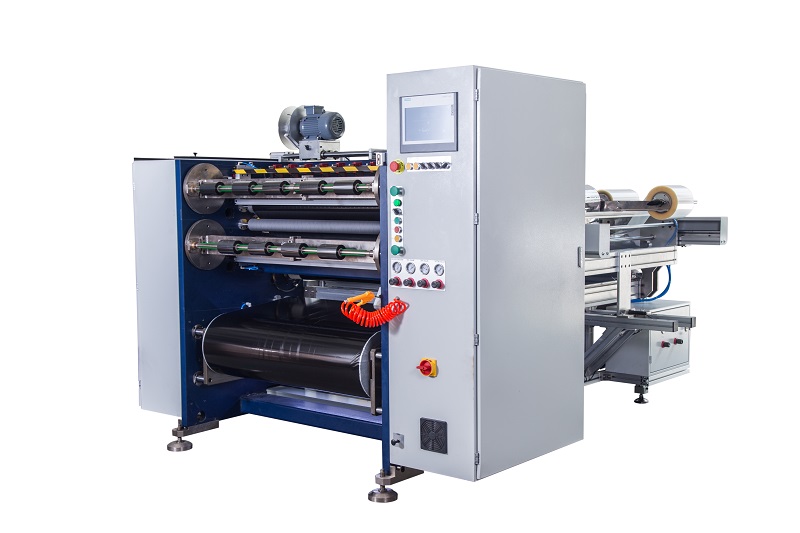 Semi Automatic Thermal Transfer Ribbon Slitting Machine RSDS5 PLUS
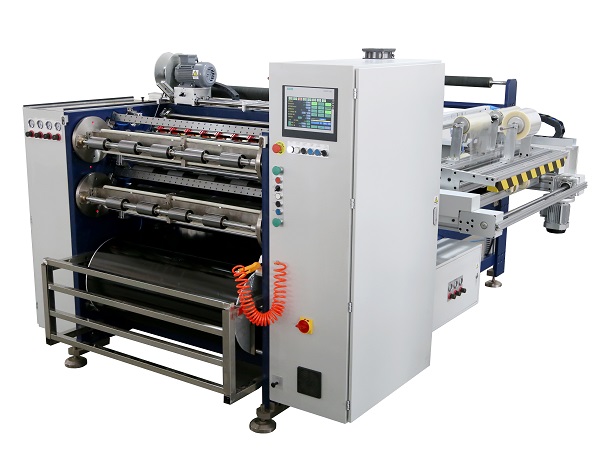 Automatic Thermal Transfer Ribbon Slitting Machine RSDS8 PLUS