In industries such as film packaging, printing, and electronic materials, slitting machines are key equipment on production lines. Whether the blade is properly adjusted directly determines slitting quality, production efficiency, and blade lifespan. This article will focus on how to adjust the blades of a film slitting machine to improve efficiency, sharing several practical tips.
1. Why is blade adjustment so important?
Many operators tend to overlook the details of blade adjustment, thinking "as long as it cuts, that's enough." But in reality:
• Improper blade gap can cause burrs and tensile deformation at the film edges, leading to higher defect rates
• Excessive blade pressure or incorrect angle accelerates blade wear, increasing replacement frequency and downtime
• Inadequate adjustment may generate dust and contaminate the cleanroom environment
Therefore, spending a few minutes finely adjusting the blade is far more efficient than processing bulk scrap later.
2. Techniques for adjusting the gap between the upper and lower blades
This is the most crucial adjustment project. Different types of films have different gap requirements:
| Film type | Recommended Clearance (mm) | Frequently Asked Questions |
| PE, PP (soft material) | 0.01-0.03 | Excessive gaps can easily lead to stringing |
| PET、BOPP | 0.03-0.05 | Too small a gap can generate dust |
| Aluminum foil, aluminum coating | 0.05-0.08 | A more conservative setup is needed |
Adjustment method:
1. First, roughly measure the current gap with a feeler gauge
2. Loosen the lower knife fixing screws, fine-tune the eccentric sleeve or adjust the screw
3. Adjust while rotating the shank by hand to feel for any "scraping" sensation
4. Tighten the screws and check again
A little tip: sandwich a sheet of carbon paper between two layers of film. After cutting, observe the depth of the marks to quickly judge whether the gaps on both sides are even.

3. Optimization of blade angle and cutting depth
• Cutting depth: Typically, the upper cut should be cut into the lower blade by 1.5-3mm. Cutting too deeply increases resistance, making the film prone to "compression" and deformation; If too shallow, the slitting is incomplete. For thin films (<30μm), it is recommended to control the cut depth between 1-1.5mm.
• Blade angle: Most slitting machines are installed at an inclined upper blade (about 2-5°). The adjustment principle is to make sure the blade contacts the film in a "cut" rather than "rolling" manner. Observe the trimming — smooth without white edges indicates the angle is appropriate; If a neat white border appears, the angle is too large and needs to be adjusted.
4. Quick Tool Change and Positioning Techniques
When frequently switching film specifications, tool changes and positioning take the longest. The following efficiency enhancement methods are recommended:
1. Make the tool holder positioning block: Install a quick-lock positioning stop block on the tool holder guide rail. When changing specifications, simply push it directly to the stop position without remeasuring the spacing between each tool.
2. Use "tool setter" presetting: Pre-adjust the gap and angle of the spare tool holder on the external tool setter, replace the entire machine during product change, and reduce downtime by more than 50%.
3. Proper labeling and recording: Create tables for each machine and each type of film corresponding to blade parameters (clearance, angle, cutting depth) and post them next to the equipment, allowing new employees to quickly get started.
5. Efficiency mindset in daily maintenance
• Clean the blade regularly: Adhesive buildup increases cutting resistance. Wiping with alcohol swabs once per shift, each session takes only 30 seconds, but it can extend blade life by 30%.
• Check blade wear patterns: Record the cumulative number of meters cut and usage time for each blade to find the optimal replacement cycle. Don't wait until rough edges appear before replacing them—by then, a considerable amount of defective products has already been generated.
• Knife preparation system: At least two prepared tool sets are prepared—one in use, one on standby. In case of sudden knife breakage, production can resume within five minutes.
6. Common Errors and Elimination
| Phenomenon | Possible reasons | Solution |
| Edges burrs and brushing | Blade clearance is too large or the blade edge is dull | Reduce the gap or replace the blade |
| The thin film wrinkles and shifts | Cutting depth is too deep or the blade is not vertical | Reduce the depth of entry and correct the angle |
| Cannot be cut, with localized adhesion | Uneven blade clearance or insufficient pressure | Check the parallelism of the tool shaft and adjust the compression force |
| Abnormal noise | Blade interference or bearing loosening | Stop the machine to check and readjust the clearance |
Conclusion
Blade adjustment may seem like a small step, but the rewards of refined management are very direct—fewer scraps, longer blade life, and higher effective output. It is recommended that the operation team develop the habit of "inspection during film replacement, inspection every shift," and shift blade adjustments from "fault handling" to "preventive operation." With persistence, improving equipment overall effectiveness (OEE) by 5%-10% is entirely achievable.
 In the low-carbon era, four feasible solutions for energy-saving retrofitting of film slitting machines
 What is the difference between hot stamping foil slitting machines and ordinary film slitting machines?
 What should you do if the film slitting machine wrinkles? A comprehensive analysis from root causes to countermeasures
 Accurate and consistent: Tension control and closed-loop correction full analysis of the high-precision solar film slitting machineFilm Slitting Machine Innovation Rankings: Five Breakthroughs to Watch in 2026


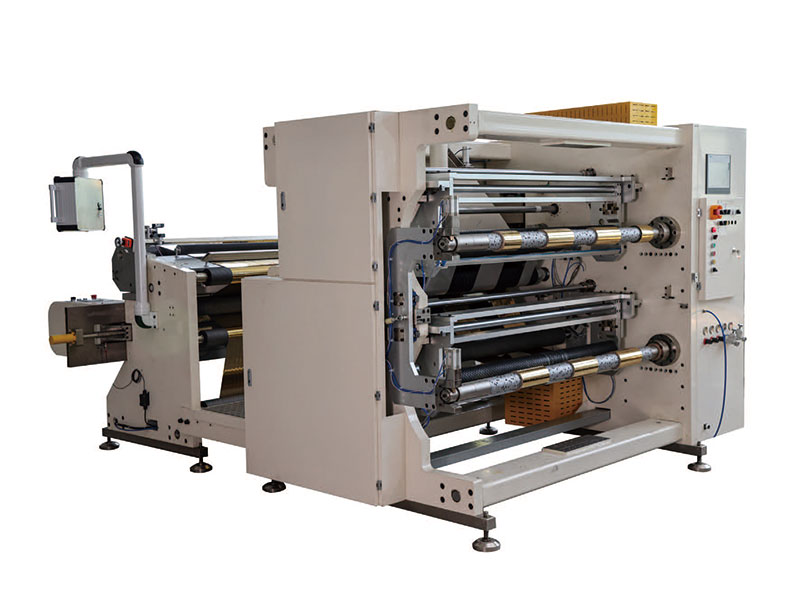 1400mm Hot Stamping Foil Slitting Machine
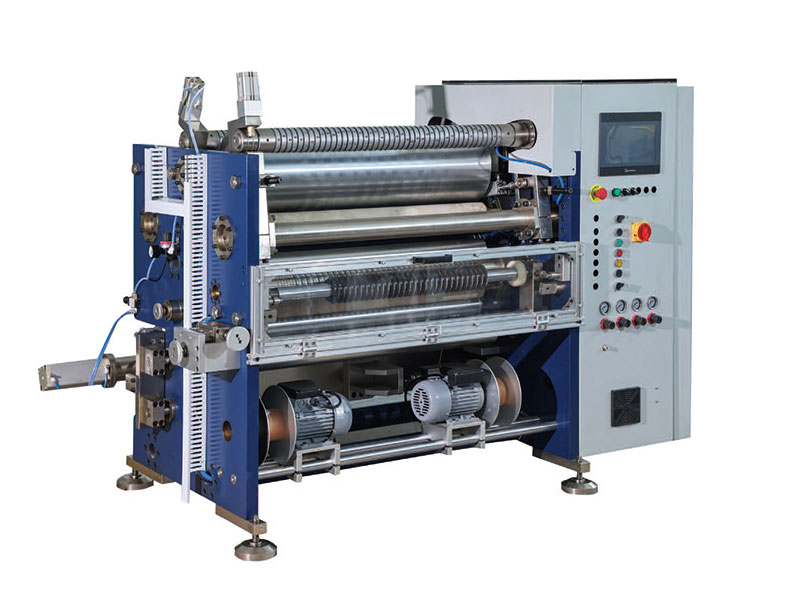 800mm Hot Stamping Foil Slitting Machine
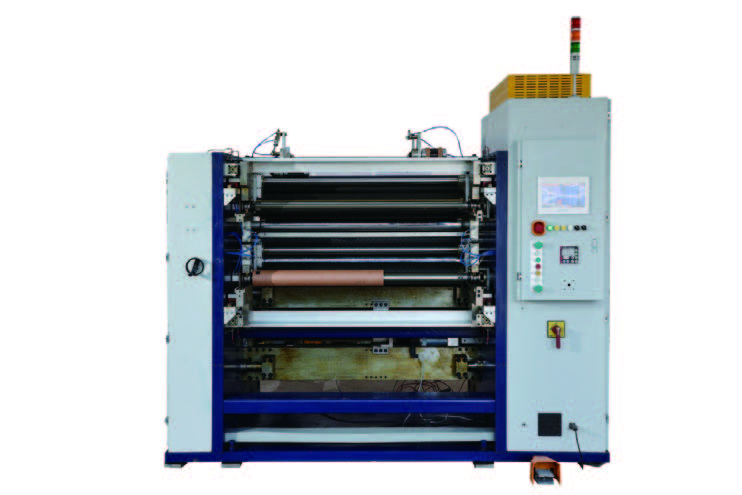 New Energy Ultra-thin Film Slitting Machine For Capacitive Film
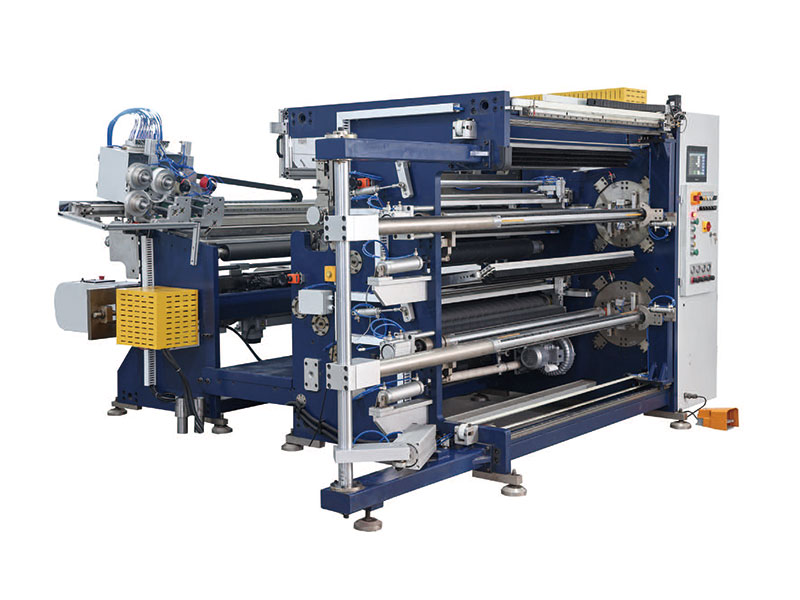 1350mm Hot Stamping Foil Slitting Machine